Reflections on Five Months Running DC Tech Workshop on Etsy
Five months ago, I took the plunge and opened DC Tech Workshop on Etsy, merging my two passions: ham radio (I'm AF5QH) and 3D printing. What an exciting journey it's been! Running this little corner of the internet has taught me more about my hobbies, my customers, and entrepreneurship than I ever expected.
The Surprise Bestsellers
You know what's funny about retail? The products you're absolutely certain will fly off the shelves often gather dust, while items you almost didn't list become your top performers. I spent weeks perfecting my cable organizer designs, convinced they'd be the star of the show. Don't get me wrong—they sell—but they weren't the breakout hits I anticipated.
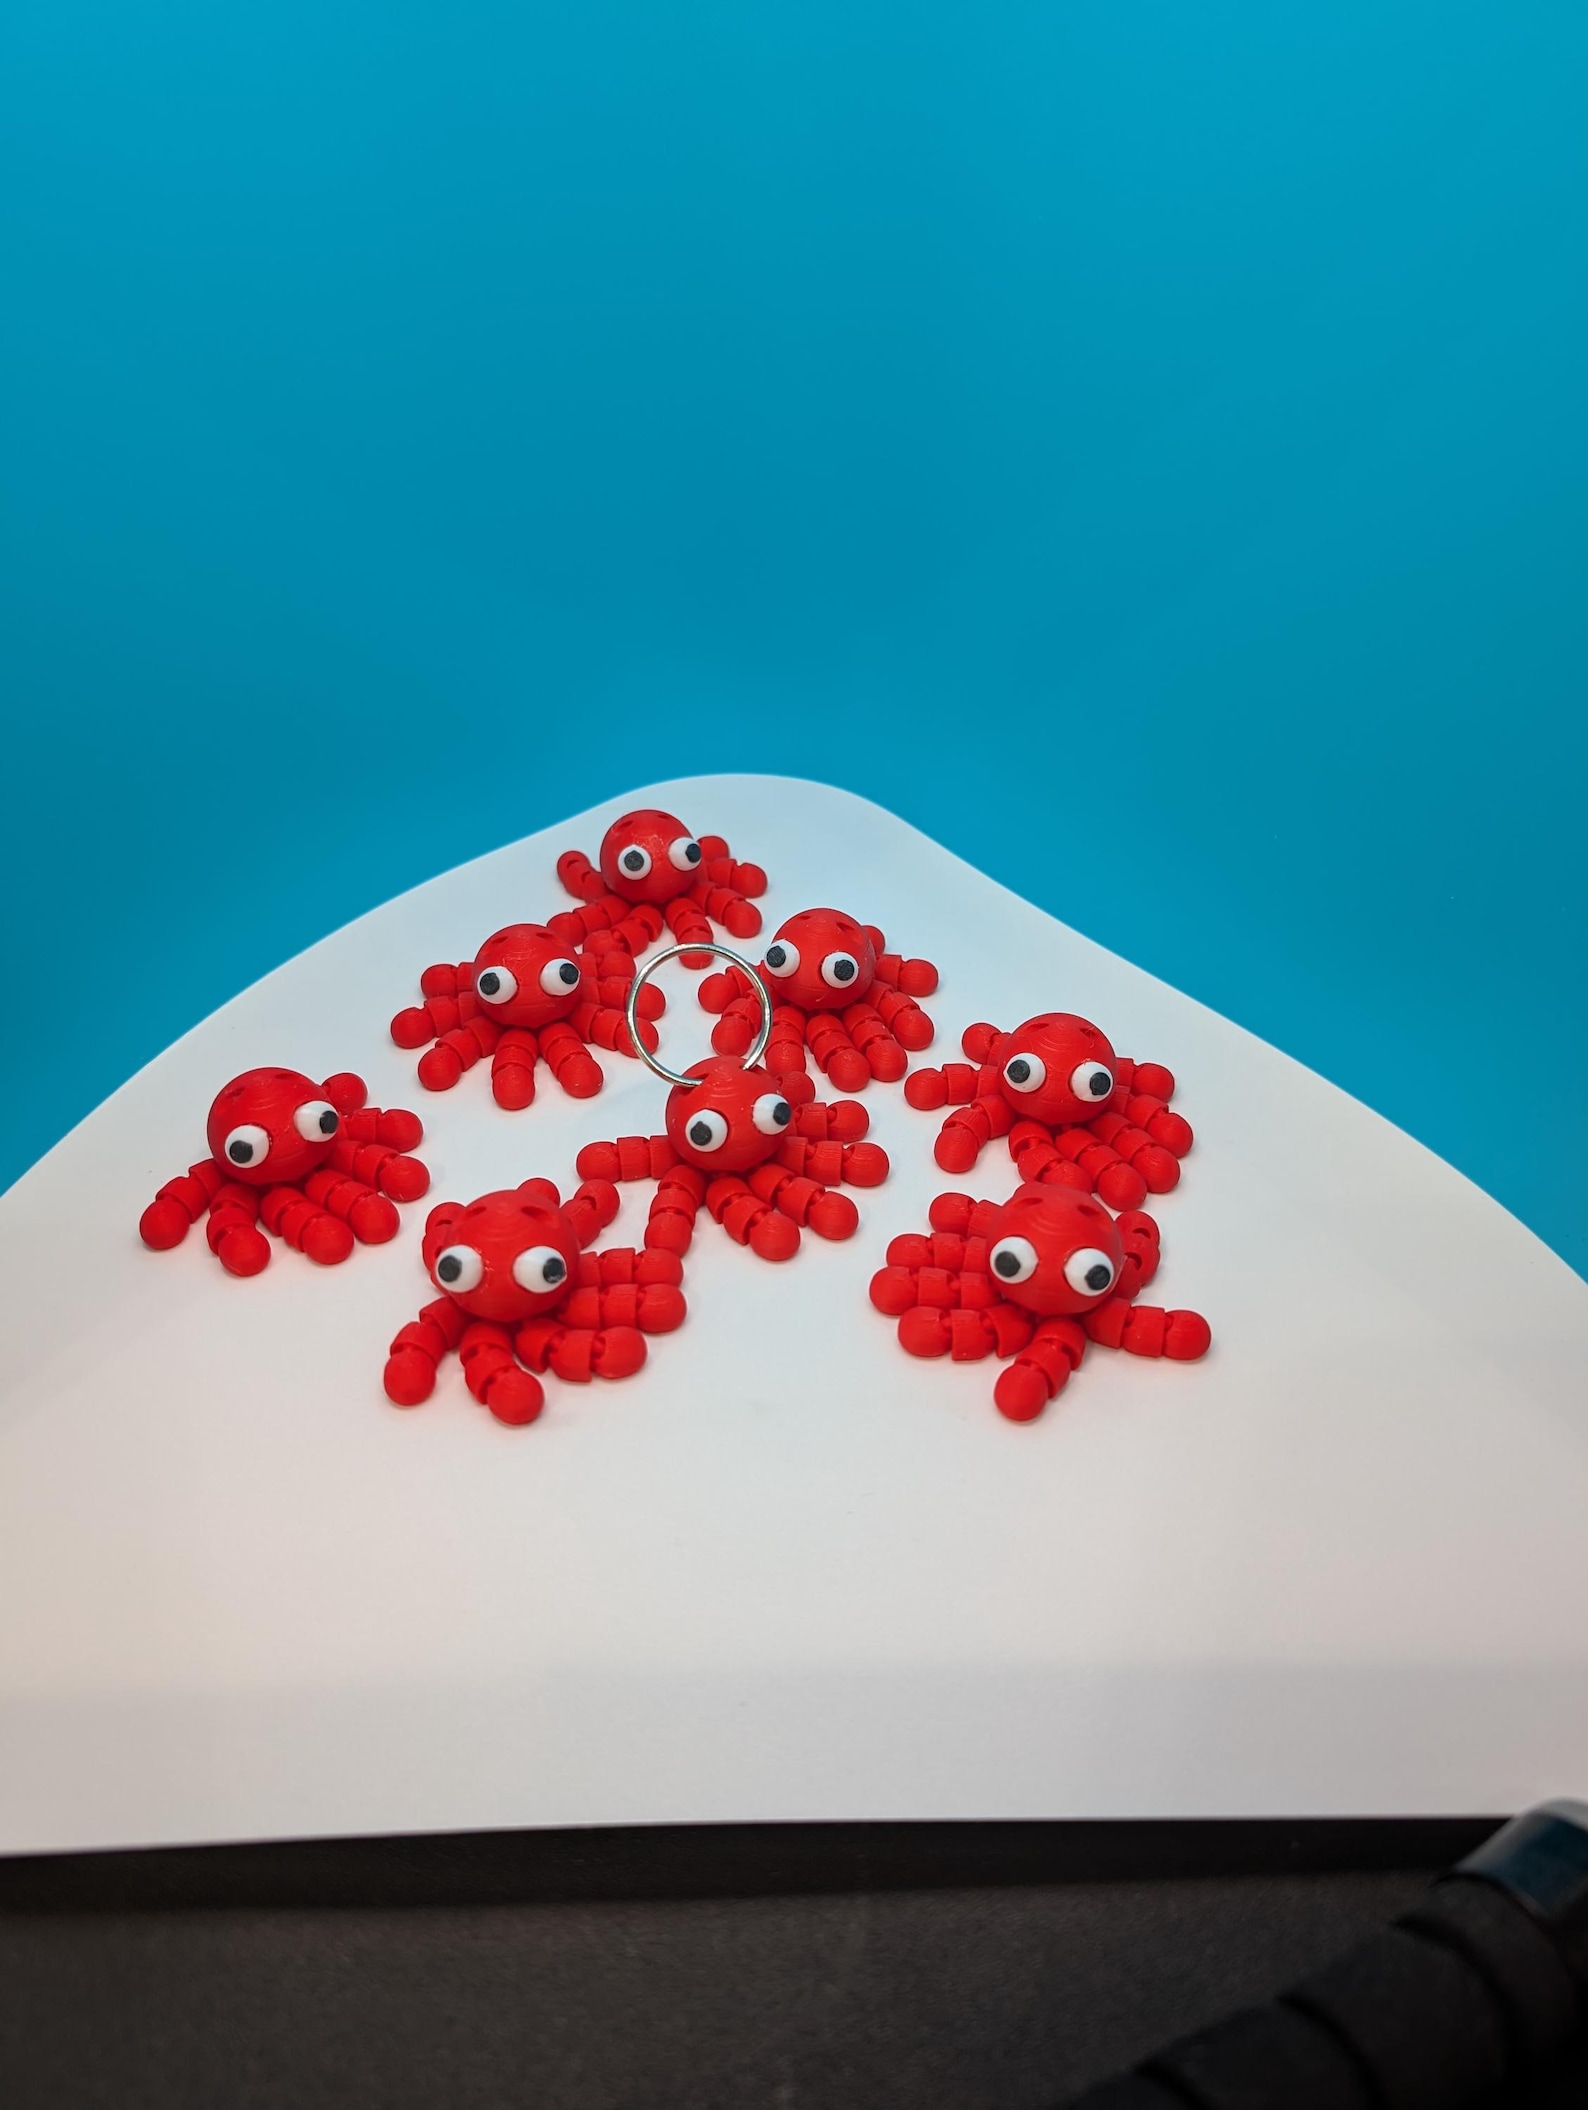
Meanwhile, my simple $1 articulated octopus keychains? They've become steady sellers. These little fidget toys that I thought might be “too basic” have brought smiles to customers and consistent orders to my shop. It's humbling and exciting to see what resonates with people.
The Items I Almost Removed
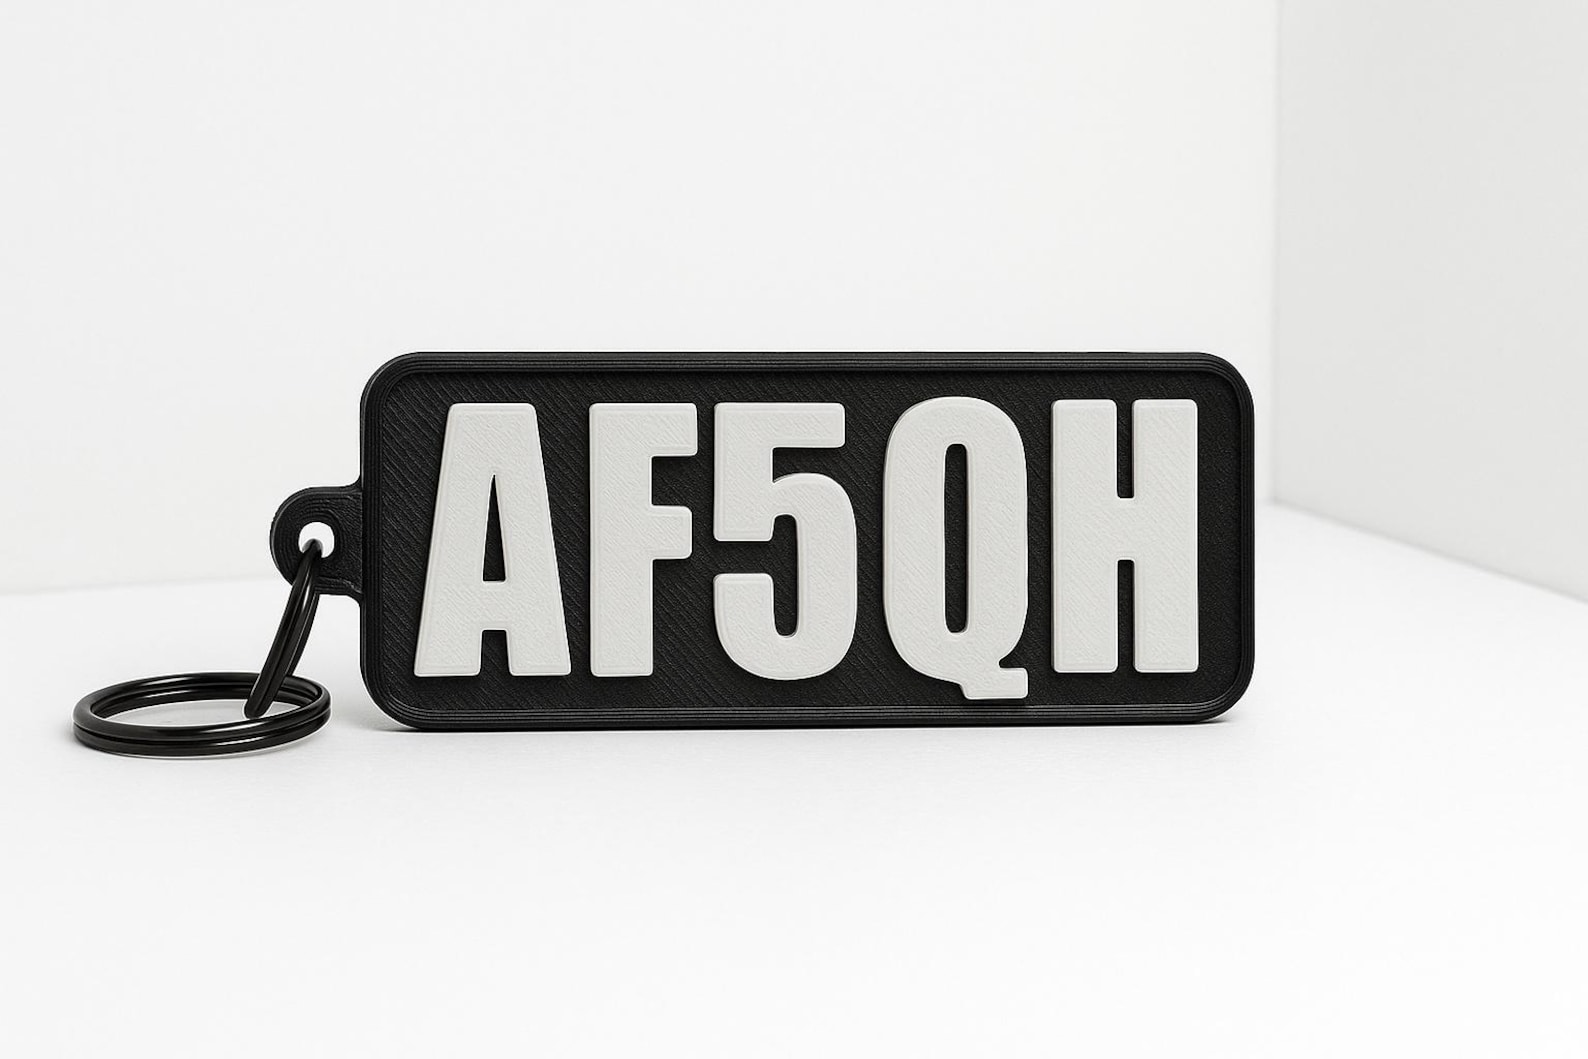
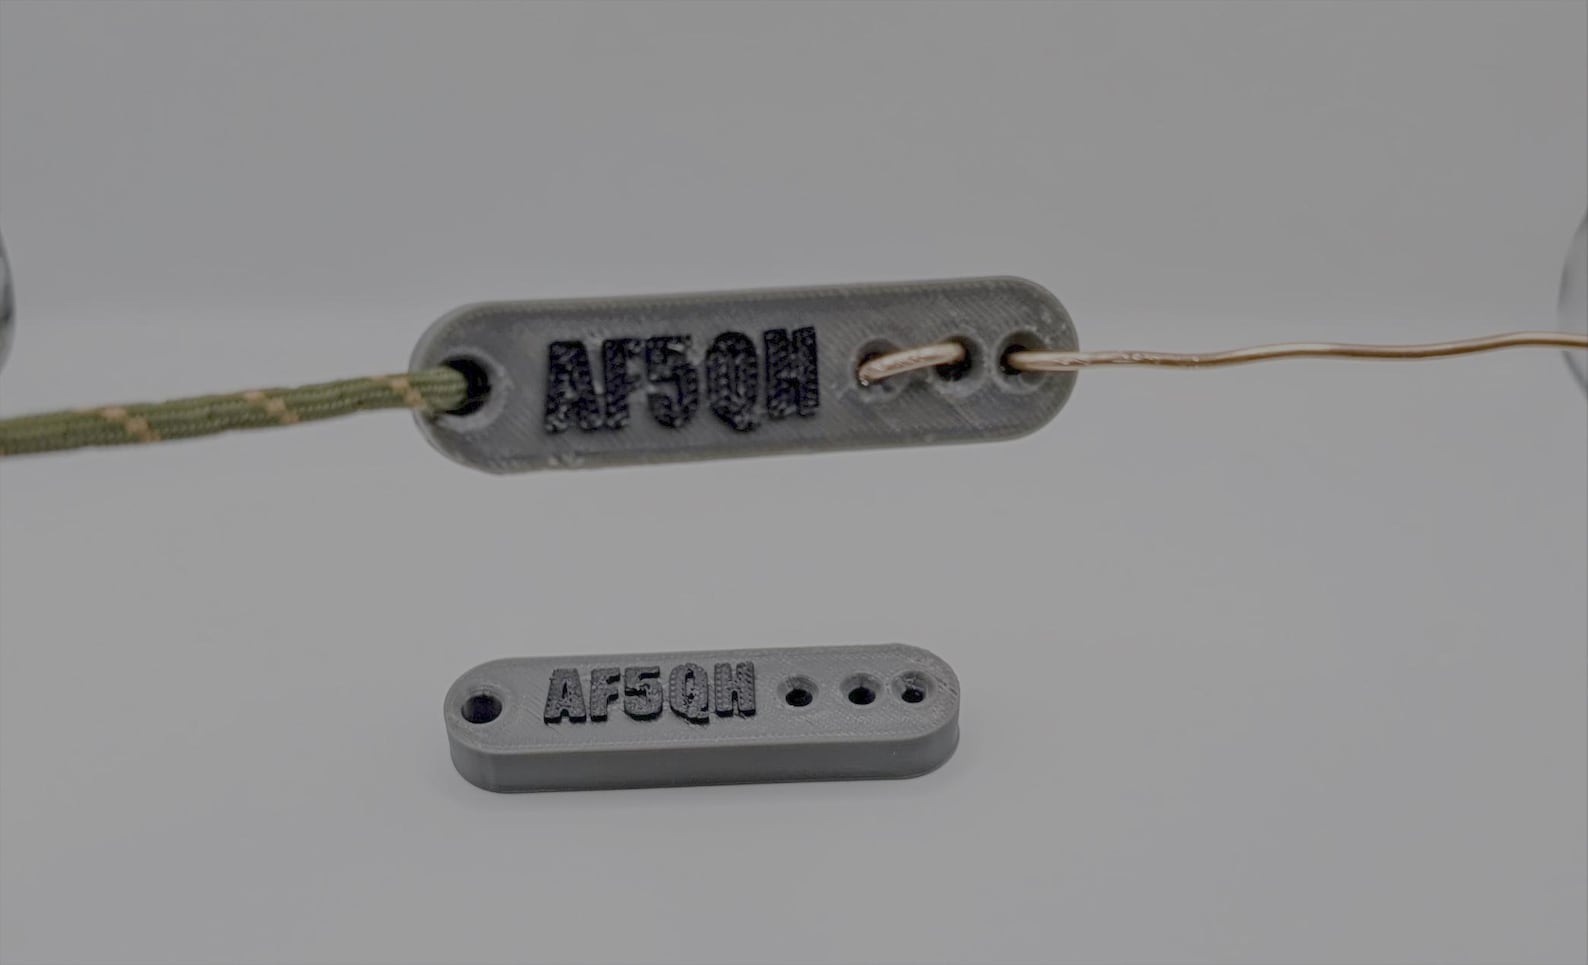
Here's where it gets really interesting. About a month ago, I was reviewing my listings and seriously considering removing two products: the octopus flexis and my NFC-enabled call sign keychains. They'd been sitting there with minimal activity, and I thought maybe they just weren't what customers wanted.
Guess what happened the very week I was about to delist them? Orders started coming in! First one NFC keychain, then another octopus, then more. It was like the universe was telling me, “Not so fast, buddy.” That taught me an important lesson about patience and not making hasty decisions based on short-term data.
Mixed Feelings and Unexpected Joy
Running this shop has been a rollercoaster of emotions. There's the anxiety of waiting for orders, the thrill when that notification pings, the satisfaction of packaging up a custom call sign keychain with someone's exact specifications. Every 5-star review (we're sitting at 4.9 stars with 19 reviews!) feels like validation, and every order feels like a conversation with a fellow ham or maker.
By the Numbers
Since launching in May 2025, we've hit some milestones I'm proud of: – 30 sales and counting – 4.9-star rating from 19 customer reviews – 14 active listings ranging from $1 octopus keychains to $25 cable management systems – Products shipped to hams and makers across the country – A growing catalog of antenna accessories, organizational tools, and fun 3D printed items
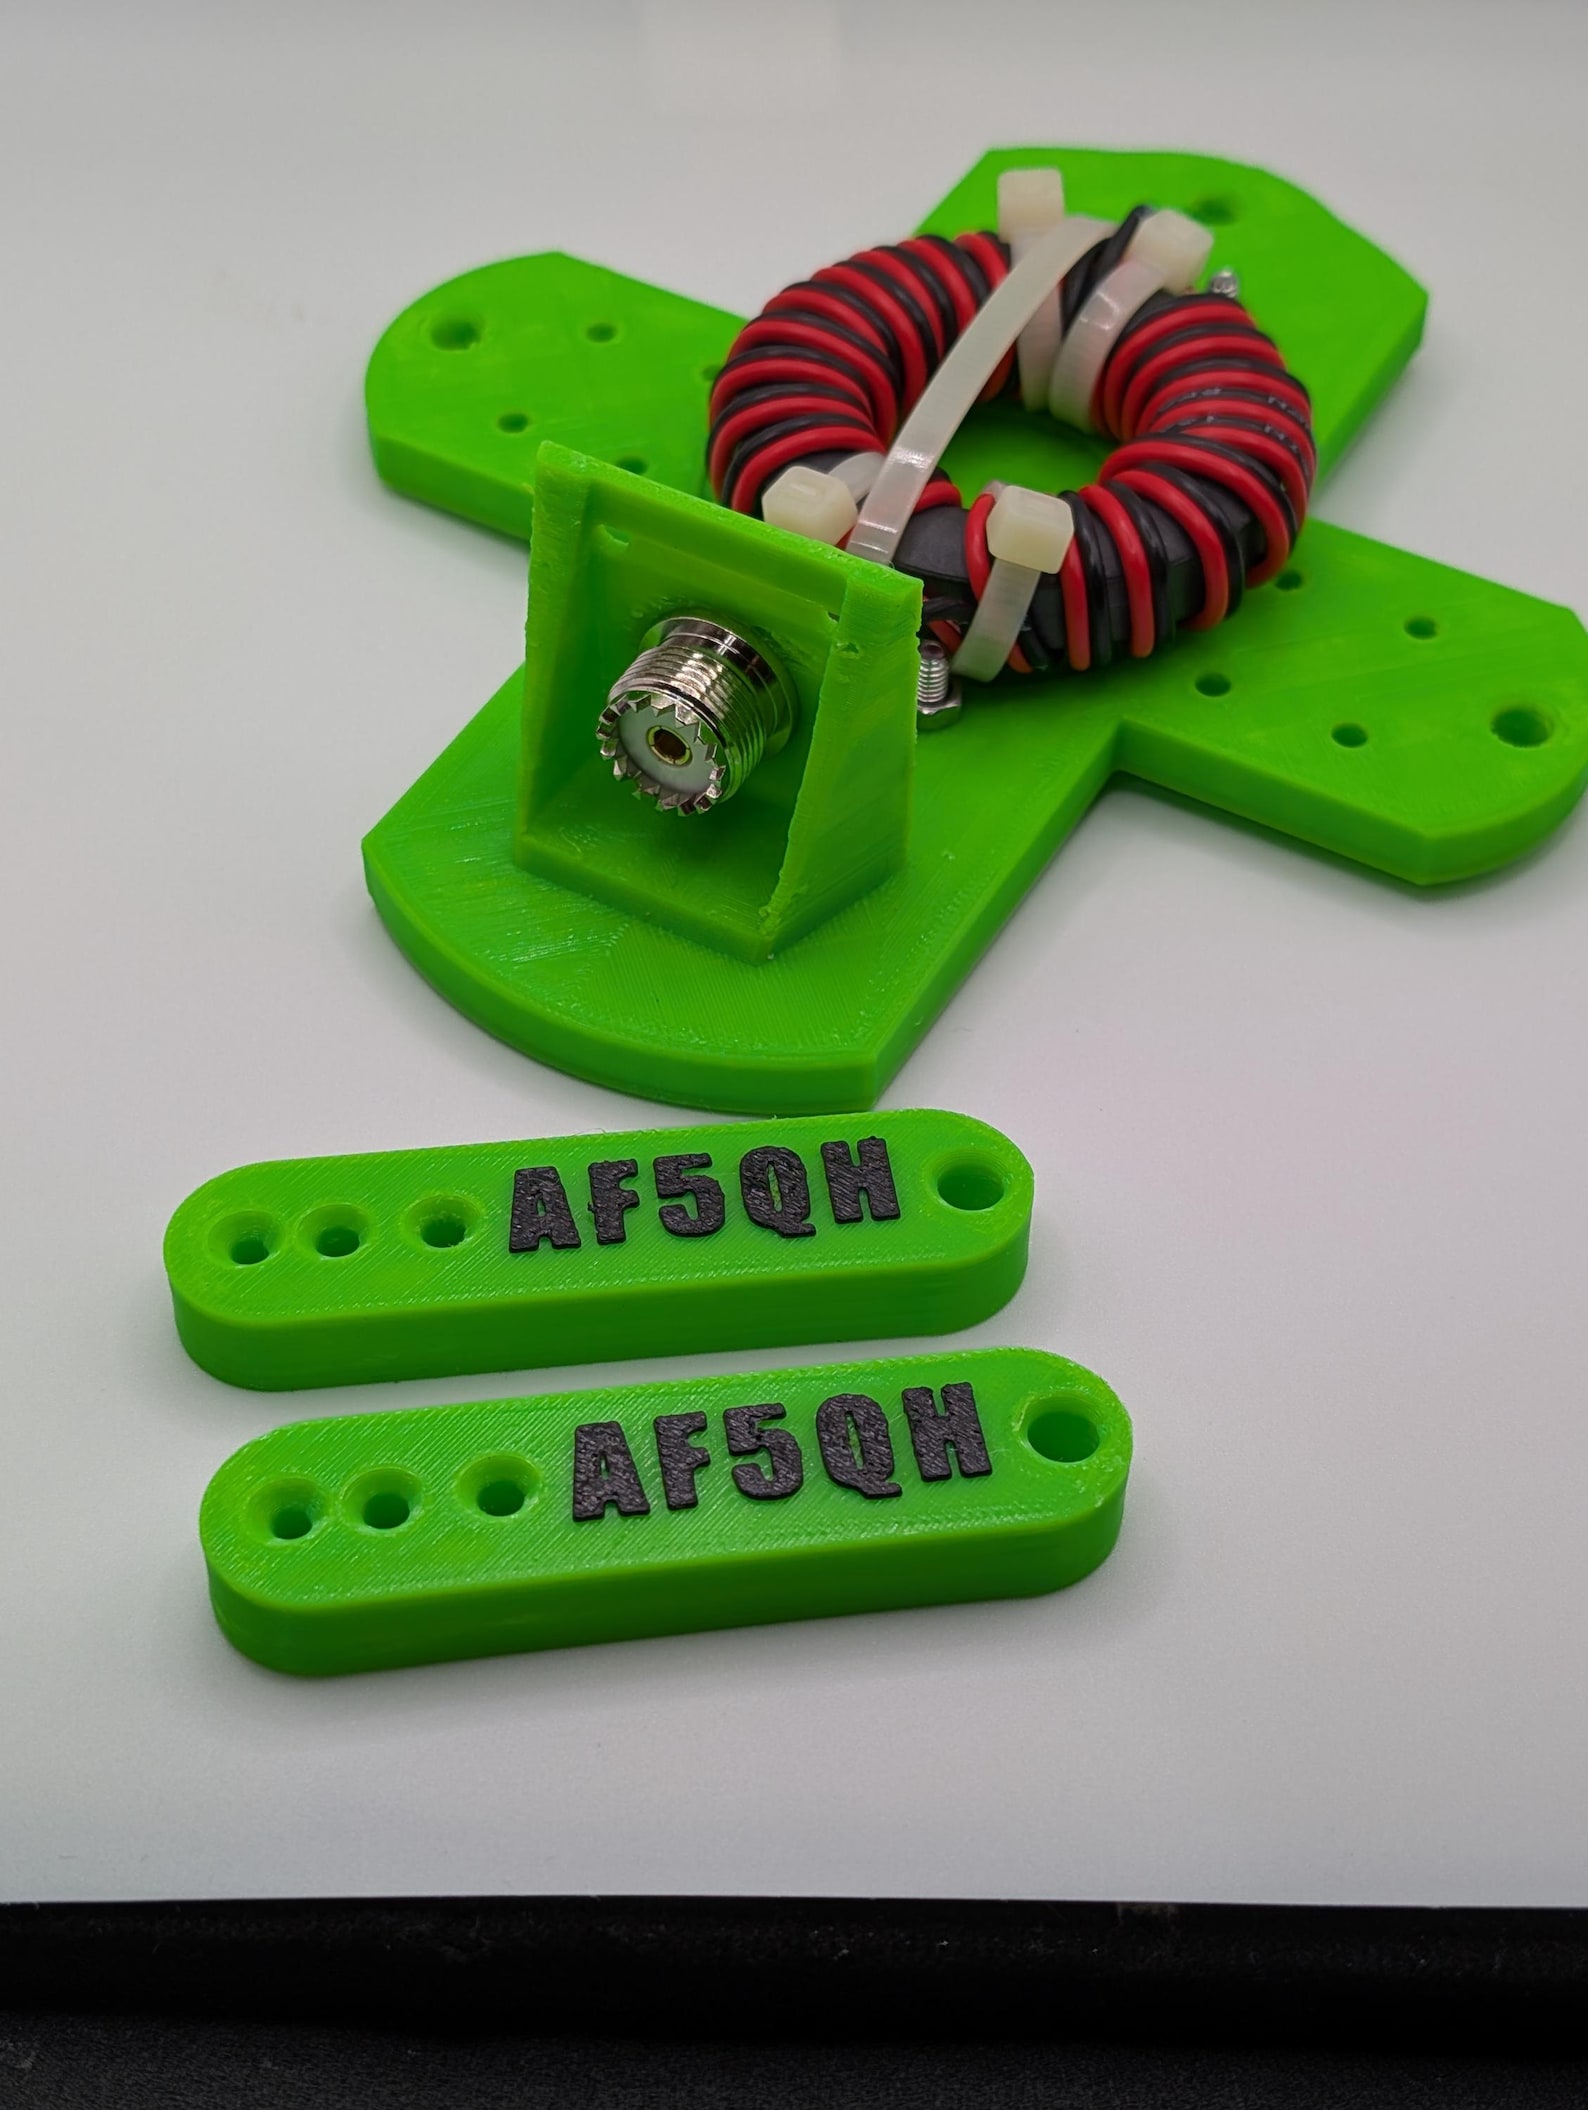
The antenna wire winders and dipole insulator kits have found their niche among field operators, while the desktop cable organizers appeal to those of us with crowded shacks (guilty!).
Looking Forward
As I look toward the next year, I'm filled with hope and excitement. My goals for DC Tech Workshop include:
- Expanding our product line with more practical ham radio accessories
- Developing better packaging and presentation
- Building stronger connections with the amateur radio community
- Experimenting with new materials and printing techniques
- Reaching 100 sales by this time next year
- Maintaining our high customer satisfaction rating
The journey from that first nervous listing to where we are today has been incredible. Every order teaches me something new, every customer interaction reminds me why I love this hobby community, and every design iteration brings me closer to creating products that truly serve fellow hams and makers.
To everyone who's purchased from DC Tech Workshop—thank you. Your support means the world to this full-time RV'ing ham operator. Here's to growing together over the next year!
73, Corey (AF5QH)
Visit DC Tech Workshop on Etsy to see our full catalog of 3D printed ham radio accessories and fun items!
This is AF5QH. 73 and out.


